

 FREE ESTIMATE
 (901) 457-9405
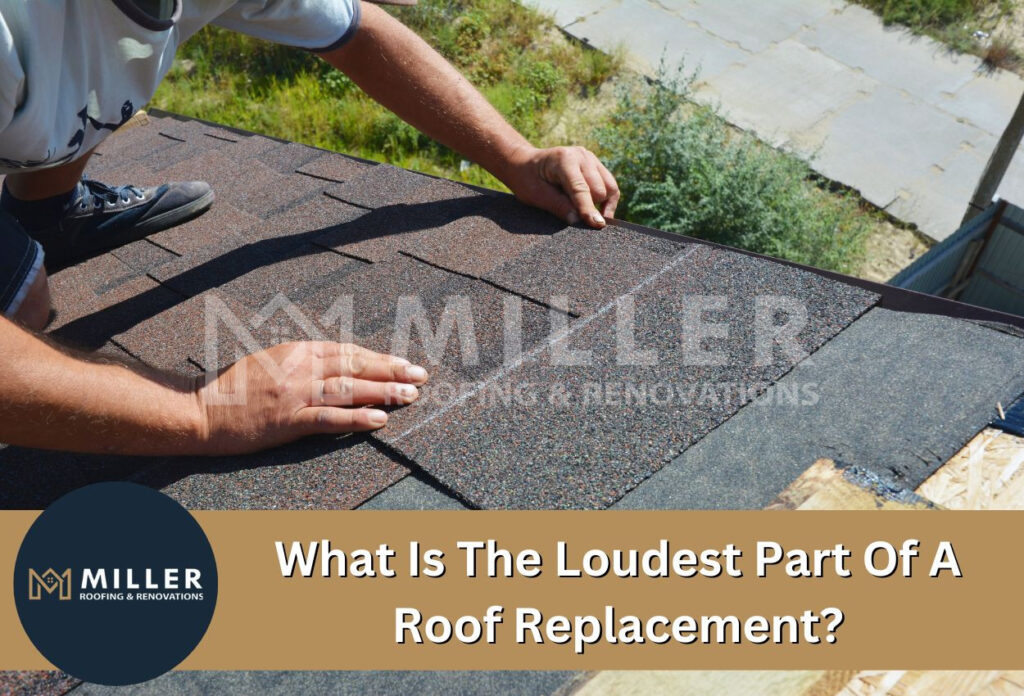
Keeping your home protected often involves major projects, and roof replacement is one that comes with its fair share of surprises—especially the noise. The constant hammering and buzzing of tools catches many homeowners off guard.
If you’ve been wondering why the process is so loud and how to get ready for it, this blog post has you covered. Let’s take a closer look and try to understand “What is the loudest part of a roof replacement?” with some tips to handle the sound.
Why Is A Roof Replacement So Noisy?
The process of installing a new roof can be very noisy, with sound levels reaching 85 to 140 decibels, similar to heavy traffic or a lawnmower. While installing new materials adds sounds from nail guns and fastening, removing old materials produces noise from hammers, cutting, and falling debris.
The noise is further increased by workers moving on the roof and using equipment like scaffolding and ladders. During installation, metal roofs, in particular, can be extremely noisy, with noise levels as high as 120 decibels. It is difficult to avoid the sounds while the project is underway and it might interfere with everyday living and possibly impact neighbors.
Key Phases of a Roof Replacement and Noise Levels
There are several stages in a roof replacement, each with its own noise level. Let’s break it down to know which is the loudest part of a roof replacement:
#1. Assessment, Material Selection, and Permits
The roof replacement process starts with a contractor inspecting the roof to identify any issues. Homeowners then choose materials based on expert recommendations. Afterward, permits are secured to ensure compliance with building codes. This phase includes inspections and paperwork, all with no or minimal noise disruption.
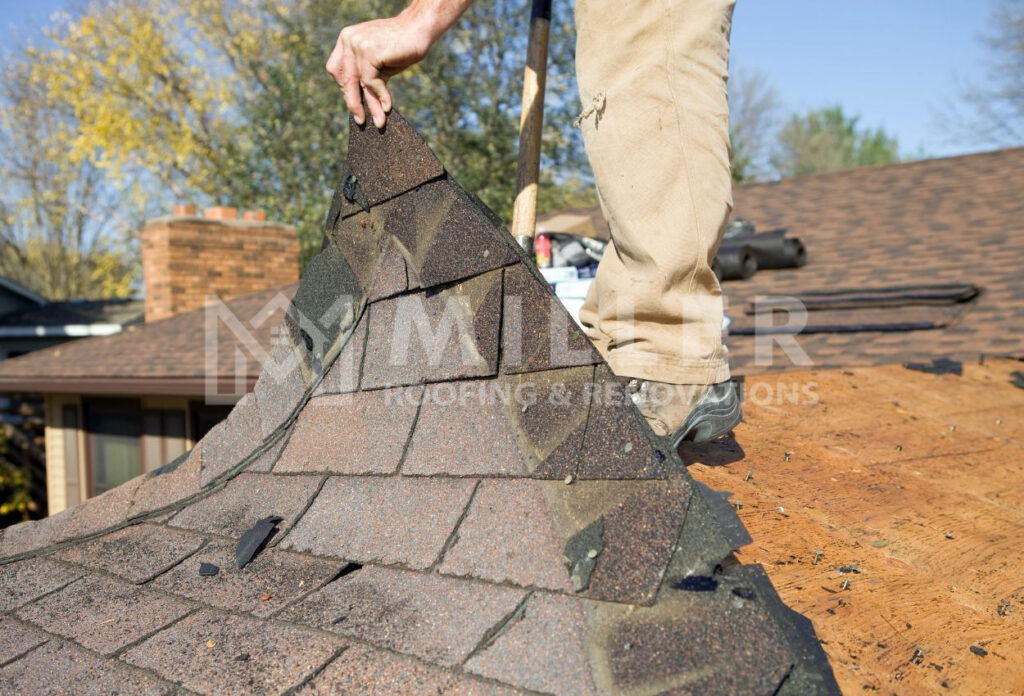
#2. Removal of Old Roofing Materials
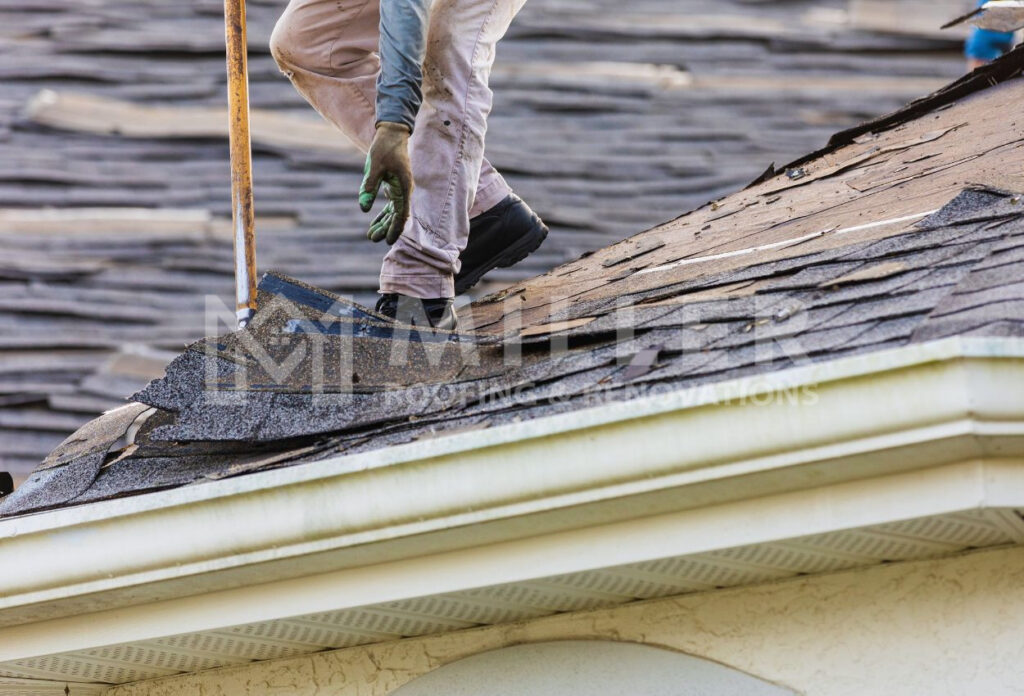
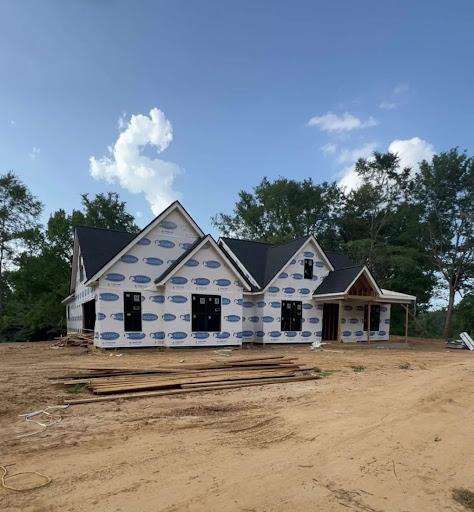
Once the paperwork is complete, the project moves to the removal of old roofing materials, which ramps up the noise significantly. Scraping, banging, and the sound of tools stripping away shingles and underlayment reach levels between 90 to 100 dB. This phase can be disruptive, not only inside the home but also to neighbors, due to the intensity of the sounds.
#3. Repairing Decking
After the old materials are removed, contractors inspect and repair any damaged decking. This step can involve hammering and sawing, which brings the noise levels down slightly to around 80 to 90 dB. While still noticeable, the noise is less intense compared to the removal phase as workers ensure the foundation is solid for the new roof.
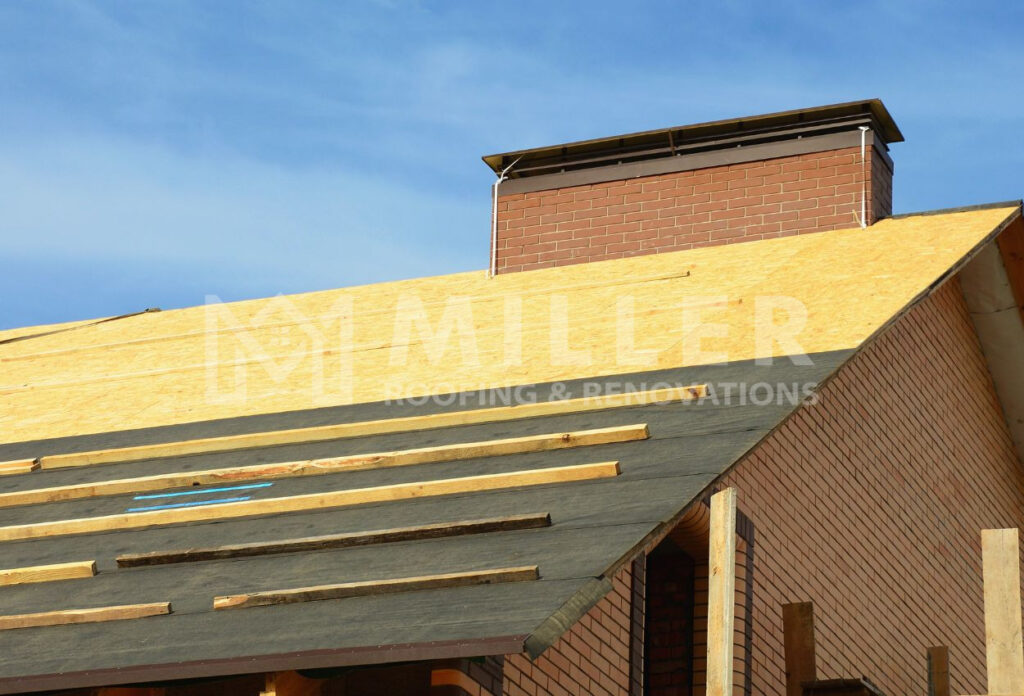
#4. Installing Underlayment and Flashing
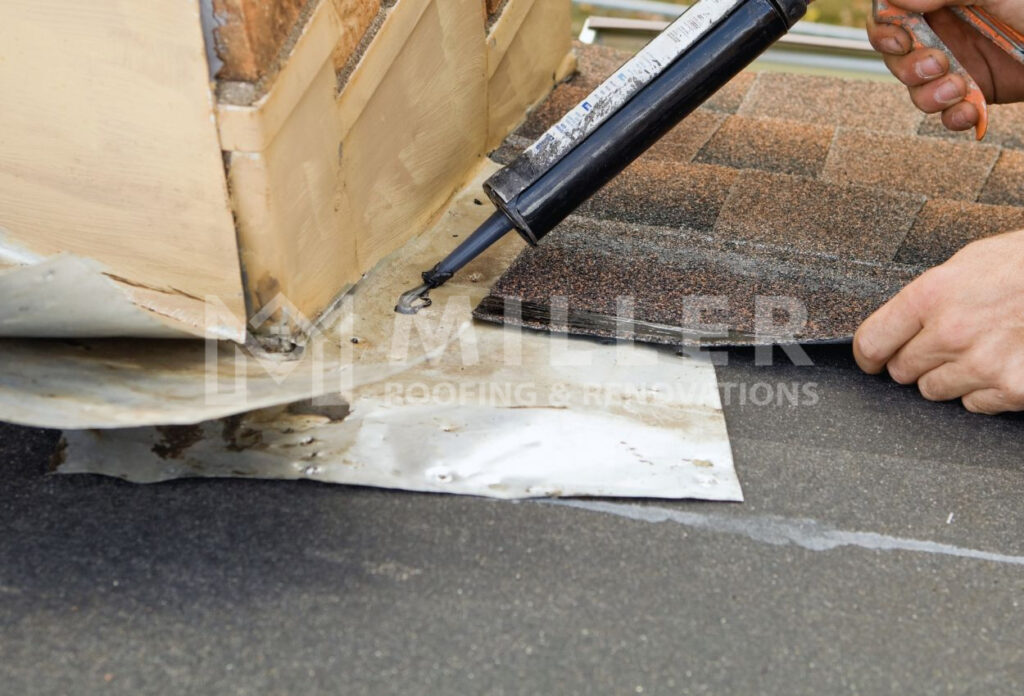
Next, underlayment and flashing are installed, a phase that involves moderate noise from hammering and the unrolling of materials. The noise here tends to be less disruptive, falling in the 75 to 85 dB range, similar to the sound of heavy traffic. This stage is quieter than the earlier steps, but still audible.
#5. Installing New Roofing Materials
The installation of new roofing materials is the loudest phase of the project. As roofers hammer in nails, cut materials, and secure shingles, the noise can escalate to between 90 to 140 dB, comparable to the sound of a jet flyover or a rock concert. This phase can be particularly loud, especially when pneumatic tools or nail guns are used.
#6. Final Inspection
Once the roofing materials are in place, the project moves to the final inspection, which typically involves minimal noise. Inspectors check the quality of the work, ensuring everything meets the standards.
#7. Clean-Up and Debris Removal
The final step involves cleaning up the site and removing any leftover debris. Some noise occurs as workers use equipment like leaf blowers and trucks, but this is much less disruptive than earlier stages. The noise here falls in the 70 to 80 dB range, similar to a vacuum cleaner.
How To Prepare For The Noise During A Roof Replacement
Preparing for the noise can make the replacement process smoother. Here’s how to get ready:
1. Consider Leaving the House
If you can, stay somewhere else during the roof replacement to avoid the noise and stay safe from falling debris.
2. Plan for Pets and Children
Make sure pets and young children are in a quiet place, like with family or friends, since the noise can upset them.
3. Inform Your Neighbors
Let your neighbors know about the roofing work so they can prepare for the noise and any disruptions.
Factors Influencing Noise Levels During A Roof Replacement
Other than the phase of the project, several other factors affect the amount of noise, including:
1. Material Type
Different roofing materials create different noise levels. Metal roofs are louder than asphalt shingles, while tile roofs can also be noisy, especially when being removed or cut.
2. Roof Structure
The pitch and height of the roof impact how sound travels inside the home. Steep roofs and multi-story houses often result in higher noise levels.
3. Project Size
Bigger or more complex roofs take more time to work on, causing longer periods of noise. A larger crew can also increase the noise from multiple tasks happening at once.
4. Weather Conditions
Wind and rain can make the noise worse and make it harder for workers to communicate, causing louder machinery sounds.
5. Condition of Existing Roof
A roof with multiple layers or damage takes longer to remove, which means more noise during this phase.
6. Tools Used
Power tools like nail guns and saws create more noise compared to hand tools, raising the overall noise level.
Other Tips for Preparing Your Home
Along with noise, roofing work can cause vibrations and dust that can damage your belongings. Follow these tips to secure your home before work begins:
1. Cover Fragile Items
Protect your furniture with drop cloths and move delicate items to a safe place to prevent damage from vibrations or debris.
2. Remove Wall Hangings
Take down pictures, mirrors, or decorations that could fall from vibrations during the work.
3. Protect Outdoor Items
Move or cover outdoor furniture, grills, and other items to keep them safe from dust and falling debris.
4. Park Vehicles Away
Make sure vehicles are parked away from the house to avoid damage from falling materials.
Need Help With A Roof Replacement? Call Miller Roofing and Renovations For Professional Service!
Roof replacement can be noisy, but it’s a necessary step for a long-lasting, beautiful roof that will protect your home. With the right preparation, an understanding of the process, and the help of professional contractors, you can handle the temporary disruption with confidence and peace of mind.
With skilled roof replacement services, Miller Roofing and Renovations guarantees that your home will receive the protection it needs with the least amount of disturbance. From tear-off to installation, our skilled roofers manage every stage of the procedure with tact and professionalism. You can rely on Miller Roofing for dependable service and excellent results, whether you’re replacing your roof entirely or just repairing it. Call us at (901) 457-9405 to get a FREE estimate!
FAQs
A. You can stay home, but it may be uncomfortable due to the loud noise and busy activity. Many homeowners choose to leave, especially if they have pets or kids, as the noise and potential hazards can be disruptive.
A. The loudest part is usually during installation, especially when nail guns and hammers are used, making noise levels reach 120 to 140 decibels. This intense noise typically lasts for several hours, with the whole replacement taking about two days.
A. Yes, pets may be disturbed by the noise. Many animals are sensitive to loud sounds, and the constant hammering and banging can be stressful for them, similar to a long fireworks show.
A. Hiring professionals may reduce noise a bit due to their experience and speed, but the work still involves loud sounds, especially during installation, making noise unavoidable.
Related Articles
-
 May 22, 2024Best Gutter Guards (Plus Reviews)It may surprise you to learn that one of the main reasons homes experience water damage is clogged gutters. Inadequate gutter maintenance can result in various problems, such as insect infestations and foundation problems. For this reason, investing in a high-quality gutter guard installation is worthwhile. By acting as a barrier, gutter guards keep leaves, […]
 -
 August 9, 20246 Best Types of Gutter Guards for Your HomeGutters are a crucial part of your roof. They help channel rainwater properly and prevent the deterioration of other roofing materials. Cleaning the gutters regularly is important for maintaining their functionality. However, not many homeowners enjoy doing this task. This is where gutter guards come in. Gutter guards are installed throughout the gutters on your […]
 -
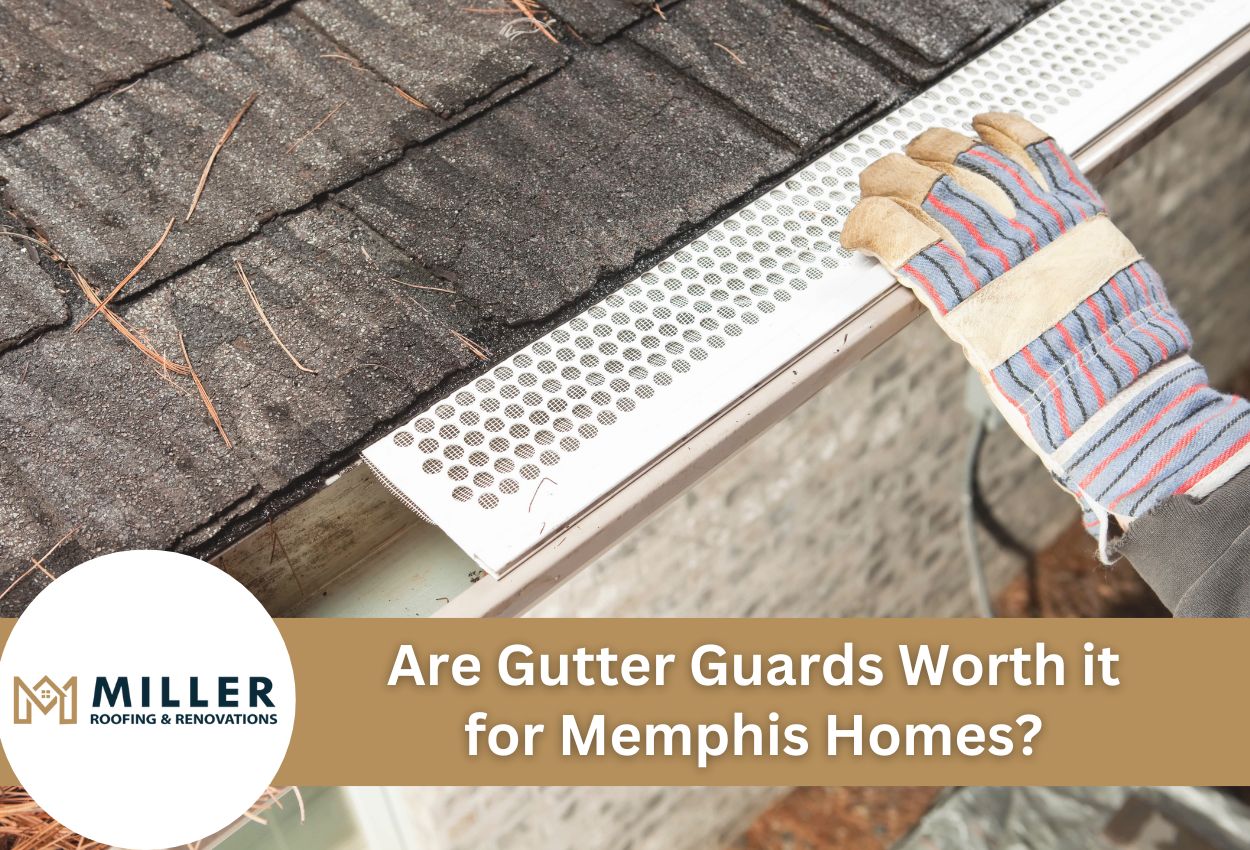 September 4, 2025Are Gutter Guards Worth it for Memphis Homes?Are gutter guards a smart choice for Memphis homes? Explore costs, benefits, and types to see if they’re worth the investment.
Protect Your Home with Expert Roofing
Don’t wait for leaks or storm damage to cause costly repairs. Our experienced roofing team provides fast, reliable service, high-quality materials, and lasting results. Ensure your home stays safe, secure, and looking great—contact us today for a free estimate.