The importance of early leak detection and the role of roof water tests cannot be overstated. Regularly testing roofs for leaks is a crucial aspect of maintaining your home, as it helps find any issues before they escalate into more significant problems.
This blog post will provide an overview of the different types of roof water tests available, their benefits, limitations, and how to know if your roof is leaking.
What is a Roof Water Test?
A roof water test serves as a diagnostic tool used by roofing professionals to discover and pinpoint leaks in a roof. It is commonly utilized as a quality assurance measure after repairs to confirm that the problem has been adequately resolved. There are several methods for roof water testing, and all these methods either replicate various weather conditions or utilize low or high voltage to detect holes or gaps in the waterproof membrane of the roofing system.
The primary objective is to identify and fix any sections of the roof that may be prone to leaks. The application of water tests contributes to a systematic approach in leak detection and repair, providing a proper solution to address persistent or concealed leaks.
How Do I Know If My Roof is Leaking?

There are several indicators that can help identify a potential roof leak. Look out for the following signs and take action to prevent any further damage to your home:
1. Water Stains on Ceilings and Walls:
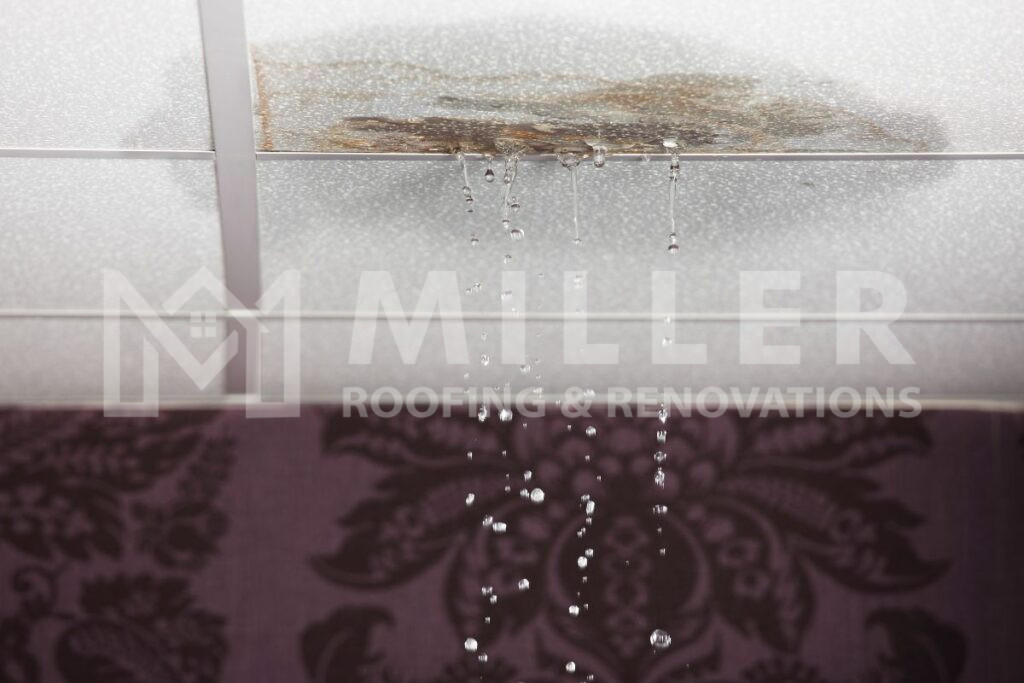
Water stains, appearing as discolored marks, often indicate a roof leak caused by water penetrating through the roof. To address these stains, it’s crucial to seal the leak, rinse the affected area with a water and bleach solution to prevent mold growth and repaint if needed.
2. Musty Odors in Certain Rooms:
Musty odors in rooms may result from leaks, dampness, or mold growth. Water damage, moisture buildup, or a lack of ventilation can cause these smells. Identifying the underlying cause, such as repairing leaks and improving ventilation, is essential to prevent musty odors and potential health issues.
3. Mold on the Exterior Walls:
Mold on exterior walls, caused by dampness and humidity, can damage paint and wall structures. Remove mold by applying a cleaning solution, scrubbing the area, and rinsing. Take precautions during cleaning, such as covering outlets and protecting nearby plants.
4. Damaged Flashing:
Roof flashing prevents water seepage around features like chimneys. Damaged flashing, such as loose pieces, dented materials, or missing sections, can lead to leaks.
5. Light Shining Through the Roof:
If you see light shining into your attic, it’s a clear sign that there are gaps or holes in your roof. Go up to your attic during the day and turn off all the lights. If you see sun coming in, mark the area and take the proper measures to fix the gaps.
6. Dripping Sounds in the Attic:
Dripping sounds may indicate a roof leak or HVAC or plumbing issues. Investigate and address the source promptly. If the noise is related to a roof leak, inspect for water stains, musty odors, and mold. Professional help may be needed for HVAC or plumbing issues.
7. Wet and Rotting Roofing Materials:
Wet and rotting roof materials can lead to structural damage. Rot occurs when wood has prolonged exposure to moisture. Identify and treat the source of water seepage, such as gaps in the roof, to prevent further damage.
Homeowners should not ignore these signs and promptly inspect the attic for signs of roof leaks. Early detection and repairs can prevent expensive fixes and potential health issues.
How To Do A Water Test On A Roof
A roof water test is a great way to check if your roof needs repairs. To do a water test on your roof, follow these steps:
1. Get Ready:
Start by ensuring that the roof is completely dry before initiating the water test. If there has been recent rainfall, it’s crucial to allow sufficient time for the roof to dry.
2. Block Openings:
Create a controlled testing environment by closing all outlets, drains, and other roof openings. This step prevents water from entering the building through these access points during the test.
3. Spray Water:
Apply water to the roof surface using a hose. Be mindful to prevent potential damage to low-lying areas by oversaturing the roof.
4. Watch for Leaks:
Have someone inside the home to actively observe and report any signs of water infiltration from the ceiling, walls, or other areas. This is crucial for promptly identifying leaks during the test.
5. Mark Any Leaks:
In the event of a detected leak, mark its precise location on the roof using a prominent indicator such as a tape or chalk. This marked spot serves as a reference point for any subsequent repairs.
6. Allow the Roof to Dry:
If the initial water test doesn’t reveal any leaks within the first hour, allow the roof to naturally dry for an additional 24 hours. Then perform the water test in a different area. This extended time frame ensures a comprehensive examination of the entire roof surface.
Keep in mind that a water test might not show the exact path of a leak. It is better to get in touch with a trusted roof repair company for proper guidance.

Common Roof Water Testing Techniques
These roof water testing methods have their own pros and cons. The method you choose should depend on factors like the roof’s characteristics and the nature of the leak. Some of the techniques are:
1. Flood Testing
Flood testing is a way of checking for roof leaks by flooding the roof surface. Water is applied to the roof, recreating conditions that lead to leaks. This helps to identify the source of the leak and is good for finding areas with water infiltration. While simple and effective, flood testing may not work well for certain roof shapes or materials.
2. Spray Testing
The second method is spray testing, which involves spraying water on specific roof areas to simulate normal or extreme weather. Wind is also simulated, and the interior ceiling is inspected for signs of leakage. Although it’s effective for identifying leaks, this method can be time-consuming, as it requires testing small roof sections systematically. Spray testing is useful when flood testing is not practical.
3. High Voltage Testing
High voltage testing uses a charged tool that resembles a broom on the roof connected to a grounded power source. When there’s a leak, an audible noise is triggered due to the electrical circuit between the power source and the roof. This method is versatile and accurate but requires careful handling because of the high voltage involved.
4. Low Voltage Testing
The next technique is low voltage testing, which uses an electrical current to find inconsistencies in the roof surface. This nondestructive method sends electrical pulses over the roof and pinpoints the exact locations of leaks. It’s effective, non-invasive, and provides results similar to high voltage testing without using the more dangerous voltage levels.
Advanced Roof Water Testing Techniques
5. Thermal Imaging
Thermal imaging uses infrared technology to find roof leaks by detecting temperature differences. This non-invasive method efficiently identifies the source of a leak without the need for extensive testing.
6. Trace Gas Leak Detection
Trace gas leak detection introduces a gas into a pressurized roof system and uses a sensitive gas detector to locate areas where the gas escapes. This non-destructive method accurately pinpoints the source of a leak but requires specialized equipment and expertise.
Conclusion
When it comes to finding and fixing roof leaks, picking the right method is important. Roof water tests are tools that help us determine where the leaks are, and each method provides a step-by-step way to find and fix any problems with your roof.
If you’re considering getting your roof inspected for leaks, Miller Roofing and Renovations is the way to go. We are experts in fixing roofs after a water test, making sure your roof stays strong and durable.
Best Roof Leak Detection and Repair Services
For the best residential roof repair in Memphis, Miller Roofing and Renovations is your go-to choice. We are dedicated to finding and fixing leaks with a thorough investigation, accurately pinpointing the issue, and ensuring prompt and efficient repairs. Don’t hesitate – reach out to us at (901) 457-9405 for a free estimate!


 FREE ESTIMATE