


 FREE ESTIMATE
 (901) 457-9405
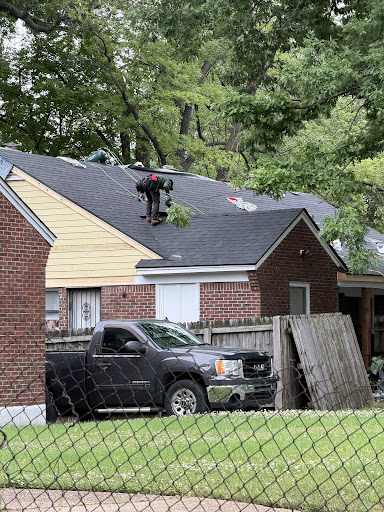
Installing roof sheathing is one of the most important steps in any roof construction or roof replacement project. By working as the base layer beneath your roofing materials, roof sheathing provides essential structural support to your home.
To help you understand a bit more about this part of your roof, this blog post will walk you through the entire process of how to install sheathing on a roof
What Is Roof Sheathing?

The layer of material that is laid over the roof’s frame, such as the trusses or rafters, is known as roof sheathing or roof decking. It creates a solid base for roofing materials to be installed on, spreading out the weight evenly, which keeps the roof strong and prevents it from sagging.
It also supports the roof against heavy snow, strong winds, and other outside forces. On top of that, roof sheathing helps block out moisture, air, and debris, which protects your home from leaks and damage. When installed correctly, it plays a large role in keeping your roof strong, energy efficient, and long-lasting.
Common Types of Sheathing Materials
1. Plywood
Crafted from thin layers of wood glued together, plywood is known for its strength and resistance to warping. It handles moisture fairly well but does need regular upkeep to prevent rot.
2. Oriented Strand Board (OSB)
OSB is made from wood strands and resin, making it both strong and affordable. It works well for many projects but can swell and get damaged if it gets wet.
Tools and Materials Needed
| ESSENTIAL TOOLS | MATERIALS |
| Hammer or Nail Gun | Sheathing Panels |
| Measuring Tape | Galvanized Nails or Screws |
| Circular Saw | Underlayment |
| Safety Gear | Optional: H-clips |
| Chalk Line | |
| Pry Bar |
Preparing For Roof Sheathing
Before you start to install new roof sheathing or replace damaged sheathing, it’s important to do the right prep work. Here are the points to keep in mind:
1. Check the Roof Frame
Start by looking at the roof’s frame, like the rafters and trusses. Make sure they aren’t damaged, rotting, or weak. Fix any issues you find so the new roof sheathing has a strong, steady base to sit on.
2. Remove Old Roofing Materials
Take off any old roofing materials before you start. This includes shingles, nails, underlayment, and the old roof decking. Use tools like a pry bar or roofing shovel to clear everything off and give yourself a clean surface for the new underlayment to be installed smoothly.
A Step-By-Step Process: How To Install Roof Sheathing
Once the preparation is complete, follow the steps mentioned below for a smooth installation:
Step #1: Prepare the Site and Materials
Start by gathering all required tools and materials. Plan your roof sheathing layout to reduce waste and improve efficiency. Before beginning, review local building codes to confirm the correct thickness and type of decking material you need to use.
Step #2: Inspect the Nailing Surface
Check that the roof’s framework provides a flat, level nailing surface. Use a straight edge or long level to spot any uneven areas. A smooth, even surface ensures that the roof sheathing panels will align properly and stay secure.
Step #3: Ensure Proper Ventilation
Good ventilation is key to preventing moisture buildup inside the roof. Install ridge vents or attic vents to promote airflow. This step helps reduce the risk of mold, rot, and long-term damage to your roof sheathing system.
Step #4: Measure and Cut the Panels
Accurately measure each roof section and cut the roof sheathing panels to fit. A circular saw or handheld saw works best for clean, straight cuts. Leave room for proper alignment — slightly over-sizing the panels can help ensure a snug fit.
Step #5: Fasten the Panels Securely
Attach the roof sheathing panels using 8d nails, placing them 6 inches apart along the edges and 12 inches apart in the middle. Maintain a 1/8-inch gap between each panel to allow for expansion and avoid placing nails too close to the edges to prevent splitting.
Step #6: Apply Underlayment
Once the decking panels are in place, cover them with a weather-resistant underlayment, typically asphalt-saturated felt or synthetic material. Ensure it’s smooth and wrinkle-free, and that it meets ASTM standards as well. Without it, your roof sheathing may be vulnerable to moisture damage.
Step #7: Install the Final Roofing Material
Install your chosen roofing materials, such as shingles, following the manufacturer’s instructions. Begin with a starter row at the roof’s lower edge, and overlap each course as you go up. Proper nailing patterns and alignment are important for both durability and appearance when working over your roof sheathing.
Step #8: Perform a Final Inspection
After everything is installed, thoroughly inspect the entire roof. Check that all roof sheathing panels are fastened, the underlayment is secure, and the roofing materials are correctly aligned. Look for any gaps, loose edges, or exposed areas. Finally, seal around vents, chimneys, and skylights to prevent leaks and ensure long-lasting protection for your roof.
Common Mistakes To Avoid
Installing roof sheathing can be a tough process, so here are some points to consider:
- Driving Nails Too Deep: When nails are pushed in too far, they can weaken the hold between the sheathing panels and the frame.
- No Gaps Between Panels: Skipping small gaps for expansion can cause the panels to swell, warp, or buckle as temperatures change.
- Using Damaged Panels: Cracked or bent panels may not hold up well and can affect the strength of your entire roof.
- Wrong Panel Direction: Make sure panels are placed across (perpendicular to) the rafters, not along them, to give your roof better support.
Maintenance Tips For Sheathing On A Roof
Proper installation and maintenance go hand in hand. Keep the following points in mind:
1. Inspect The Roof Twice a Year
Check your roof sheathing, along with your entire roofing system, every six months. Look for warping, rot, or loose nails.
2. Replace Damaged Panels Quickly
Don’t wait to fix broken or weak panels. Delaying repairs can lead to water leaks and weaken the roof’s structure.
3. Keep Attic Ventilation in Check
Good airflow in the attic keeps moisture away. This helps stop mold, rot, and damage to your decking.
4. Watch for Pest Activity
Look out for signs of pests like insects or rodents. They can chew through materials and cause serious damage.
5. Prepare for Harsh Weather
Check your roof after storms, high winds, or hail. Fix any damage right away to keep your sheathing in good shape.
6. Clean Gutters Often
Clogged gutters can cause water to pool near the edge of the roof. Keep them clear to avoid moisture damage to the decking.
Trust Miller Roofing and Renovations for Quality Roofing Services
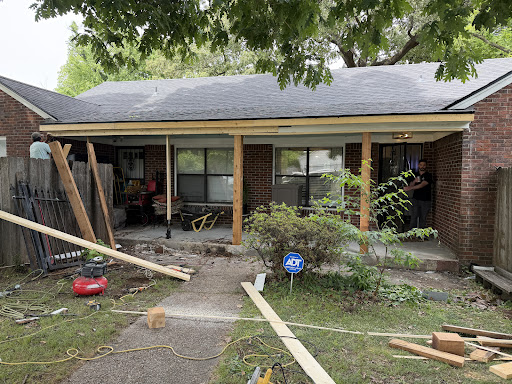
If you’re planning to upgrade your home with a new roof, trust our team at Miller Roofing and Renovations. We take pride in delivering high-quality roofing services, using durable materials that stand the test of time. Whether we’re installing a brand-new roofing system or replacing damaged roof sheathing, we make sure every step is done with care and precision.
With years of experience and a strong focus on customer satisfaction, we’re here to protect your home and give you a roof you can rely on for years to come. Call us today at (901) 457-9405!


 View All Reviews

